Click Three Times
Click the image to open the gallery
Mission Info
| Status | Completed Mission | |
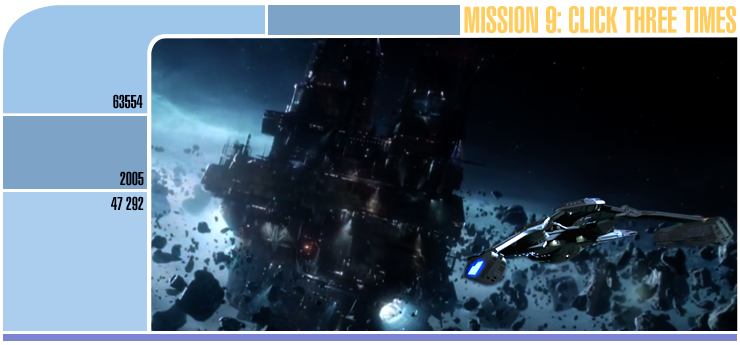
| Description | Victorious, the Black Hawk and the reclaimed Starfleet ships leave the nebula. As they prepare to set a course for Starbase Unity, they are intercepted by five Karemma Heavy Cruisers, labelling themselves as The Confederation. The Black Hawk is forced to retreat, only to discover that there’s not a single Starfleet buoy in range. |
|
| Mission Group | Season 2 | |
| Start Date | 13 Aug 2016 @ 4:57pm | |
| End Date | 14 Jan 2017 @ 4:57pm | |
Mission Posts
Mission Summary
The crew of the USS Black Hawk awaken to find their ship wounded. Among the casualties was the ship's bridge as it is consumed by fire. Though it was occupied by four people at the time the Romulan Valdore exploded, only Captain Geisler, Lt. Cmdr. Bast and Lt. Di Pasquale manage to escape the flames. Throughout the ship, the crew begin to pick up the pieces, stabilize the ship, and recapture the Consortium personnel who escaped captivity.
Early the next morning, Captain Geisler embarks on a visual inspection of the Black Hawk, USS Chimera, and USS Cochrane. Not only does he realize how extreme the damage truly is, Harvey is forced to declare the Chimera a loss and instructs the crew of the Intrepid-class Starship to begin salvage and scuttle operations. He also discovers a rift in the nebula and assumes that it was the result of the tri cobalt usage on the Valdore. Captain Geisler assigns Commander Teixeira and Lt. Commander Bast to serve as the Cochrane's interim Commanding Officer and Executive Officer until they return to Starbase Unity. As soon as enough repairs are affected, the Chimera is destroyed and the remaining starships depart the nebula.
Soon after, the Black Hawk and Cochrane are stopped by five unknown starships claiming to be members of The Confederation and commanded by a man Geisler recognizes, a Karemma named D'rimo. The Karemma, on the other hand, do not recognize Geisler or the Black Hawk. Harvey orders both ships to retreat, but the Cochrane is hit by an energy dampening weapon and is boarded. The Black Hawk manages to escape, much to Harvey's guilt. The crew of the Black Hawk agree that their ship is not able to overpower all five vessels and free their colleagues. Harvey then orders a course be set to the space station called Razmena in hopes that the seedy space station contains answers to their plight.
The crew of the Cochrane is captured and transferred to a holding facility. One by one, they are interrogated by a ruthless Selamat who is seeking information on the Cochrane's technical specifications, operations, and armament.
As the Black Hawk approaches Razmena, a Consortium virus is discovered inside the ship's computer, planted there during the battle with the Chimera and the Cochrane. Captain Geisler is forced to divert the Black Hawk to a remote nebula in order for the computer to be wiped. He does not, however, delay the Away Team's mission and personally leads the team to Razmena via the runabout Mississippi. On board the station, the crew is able to learn very little, until they discover D'rimo's son, Kr'ozzu, who'd been cast out by his father. Kr'ozzu confronts the Away Team and begins to interrogate Captain Geisler and Lieutenant Corwin. Before he could finish, a group of bounty hunters arrive. They reveal that a bounty has been placed on the Black Hawk and its personnel, and that these bounty hunters are to take things from there. A firefight ensues, and the Away Team escapes.
Meanwhile, while the Black Hawk conducts a full computer wipe, a group of bounty hunters discover the ship's location and attempt to take her. The 325th, along with limited support from the Akira-class vessel, manages to thwart their efforts. The Away Team returns, and with the ship back to full power, the Black Hawk sets sail to find the Cochrane.
Lieutenant Commander Temerant Bast, thanks to his unfortunate prior experience with the Selamat, manages to overpower and kill his interrogator. He manages to free the crew of the Cochrane, and the crew is successful in reclaiming their stolen vessel. As they attempt to escape, the Black Hawk arrives and provides support, covering the Cochrane in its getaway. Together again, both starships warp away, bound for the nebula in hopes to find a way home.


